Scanner user guide
How to use the scanner at a door. It works without an internet connection.
Step one
Pairing the phone
The scanner has to be given access to an event before it can be used. There are three ways. The first two need nobody at the dashboard, which is what makes them quick when several people are being set up at once:
- You are sent a link. Open it on the phone that will be scanning. Nothing to type — it sets the phone up and goes straight to the tickets.
- You are sent a code. Eight or twelve characters, like
AAC8-29DF. Scan it from the printed card, or type it in. - The operator does it from the dashboard — they type the code shown on this phone, or hold up a joining QR for you to scan.
A link or code works whether or not the event has been set up yet. If it has not, the phone says it is waiting and picks the event up on its own as soon as the operator adds it — nobody has to be standing next to the phone when that happens.
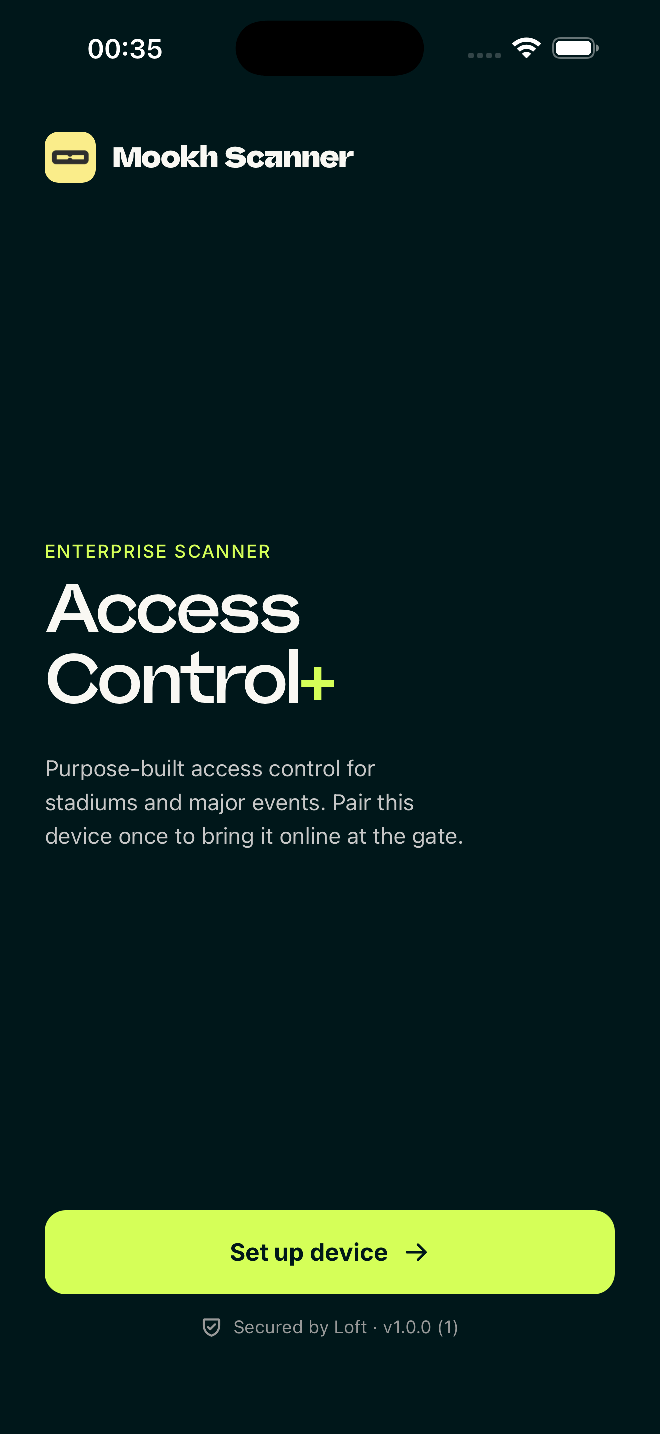
Main Gate A, VIP, Bar. This is the name the operator
sees in the dashboard.Step two
Main screen
The top of the screen shows which door the phone is set to and how many tickets it holds for this event.
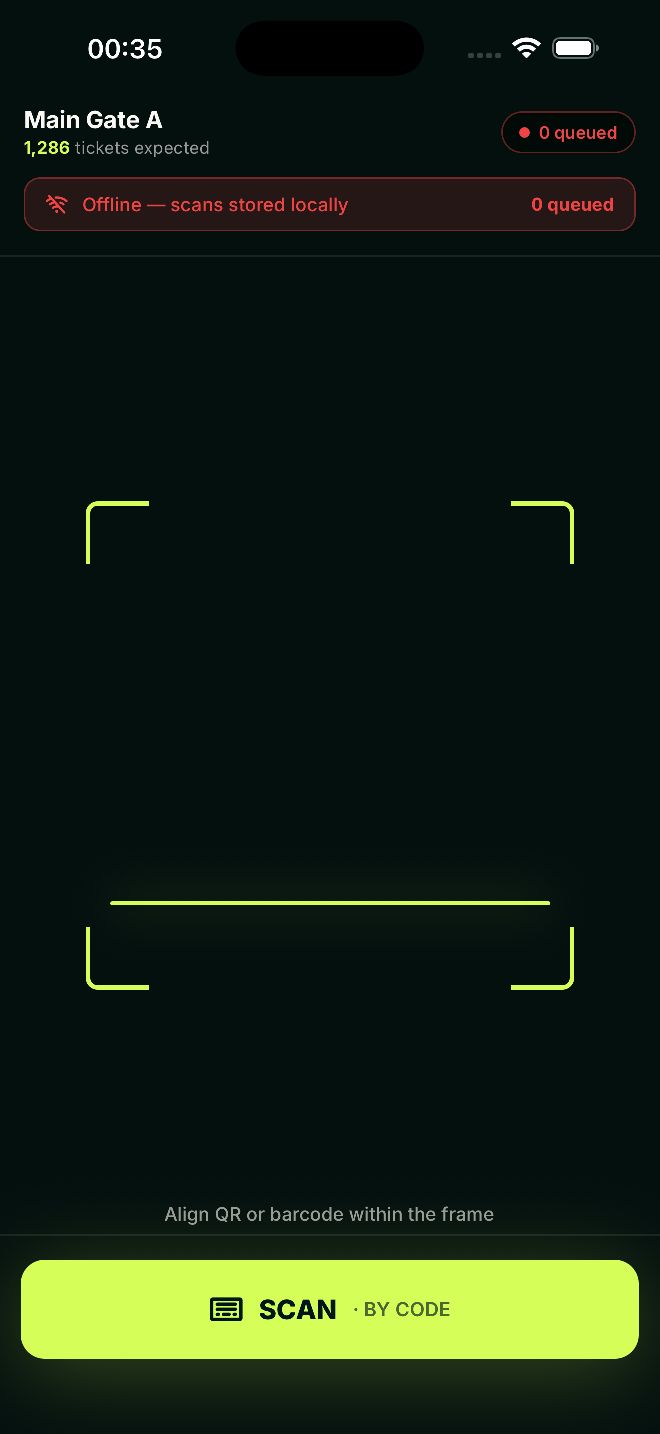
No internet connection
If you see a red Offline — scans stored locally bar, carry on scanning. Tickets are checked against the list stored on the phone, so no connection is needed. Admissions are saved and sent automatically when the connection returns. The number next to queued is how many are still waiting to be sent.
Step three
Scanning
Point the camera at the ticket. There is no button to press; it reads the code automatically. On a phone with a laser trigger, pull the trigger instead — the camera does not need to be on screen.
Results
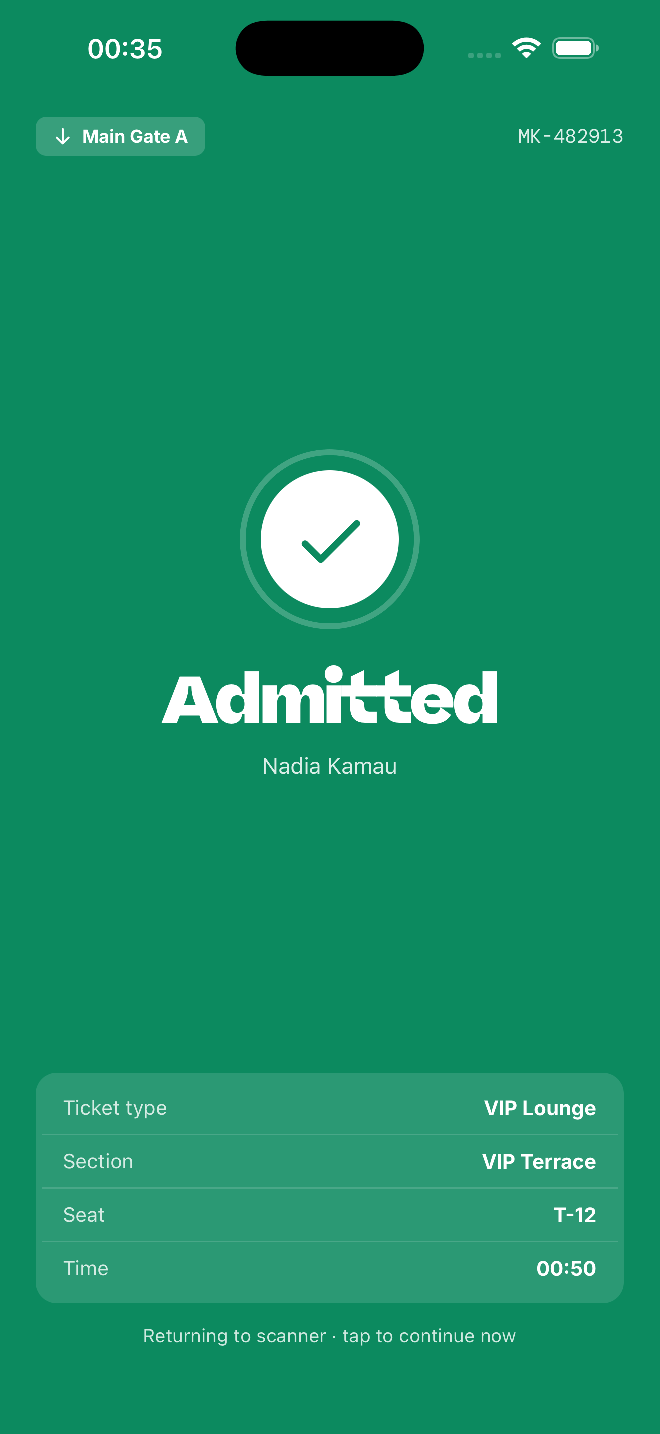
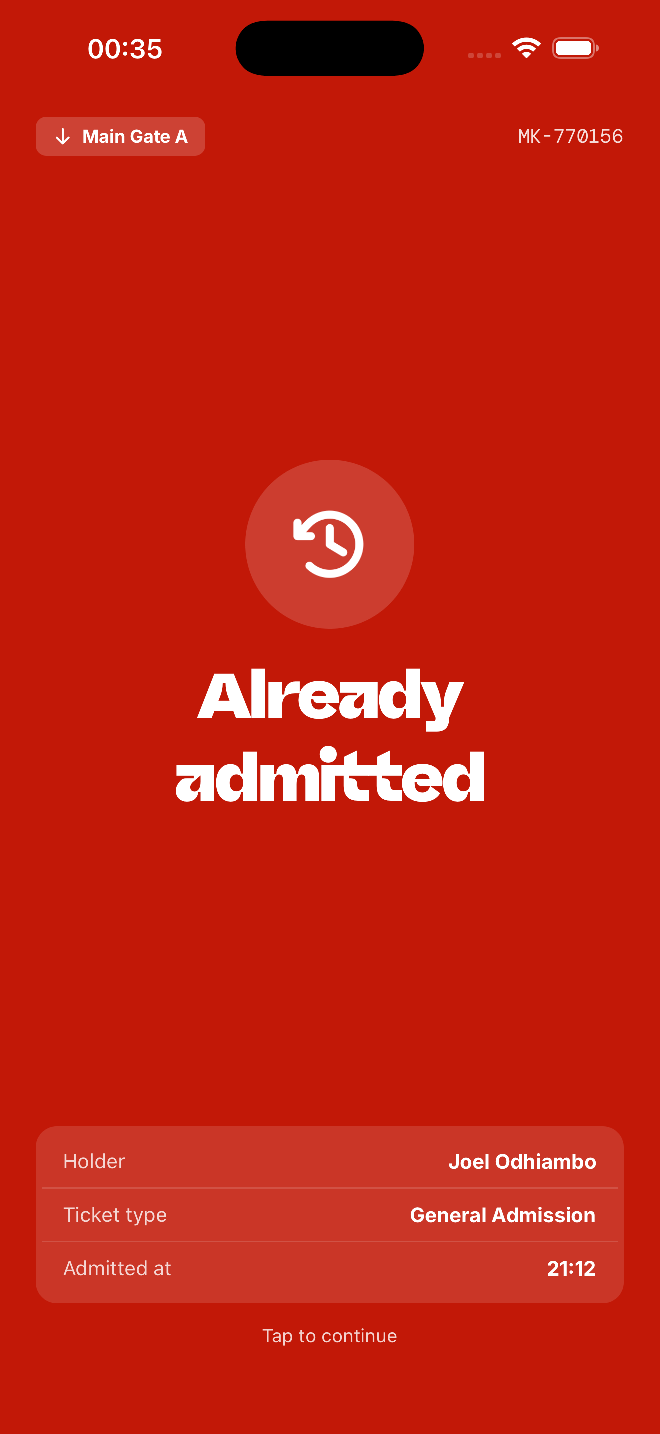
Not recognised means the code is not on this phone's list. Either it is not a ticket for this event, or this phone is set to a different session or ticket type. Check the top of the screen to see what it holds.
Step four
Entering a code by hand
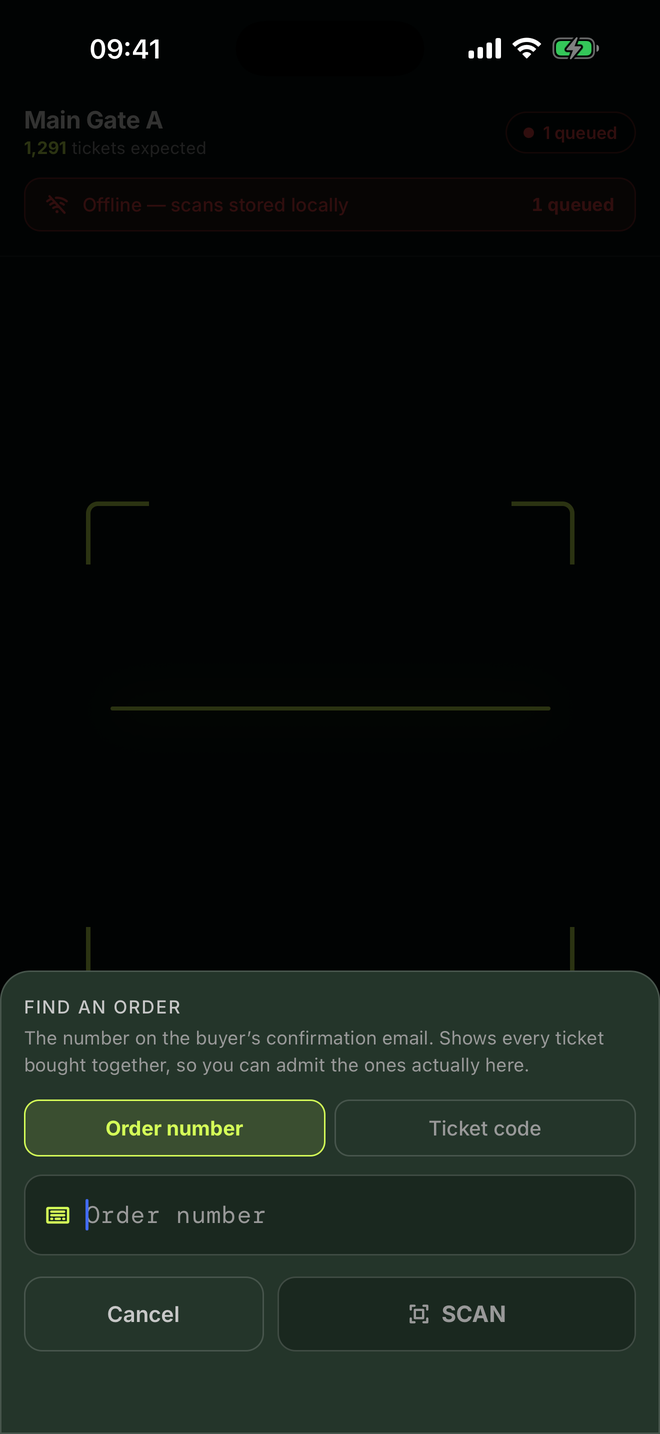
If the barcode will not read, tap SCAN · BY CODE and type the code instead. It is checked the same way as a scan — nothing is skipped.
Finding a ticket by order number
Use this when the guest cannot show a ticket but has their confirmation email. Everyone who booked together shares one order number.
- Tap SCAN · BY CODE. It opens on Order number.
- Type the order number and tap the button.
- Tap the ticket belonging to the person in front of you.
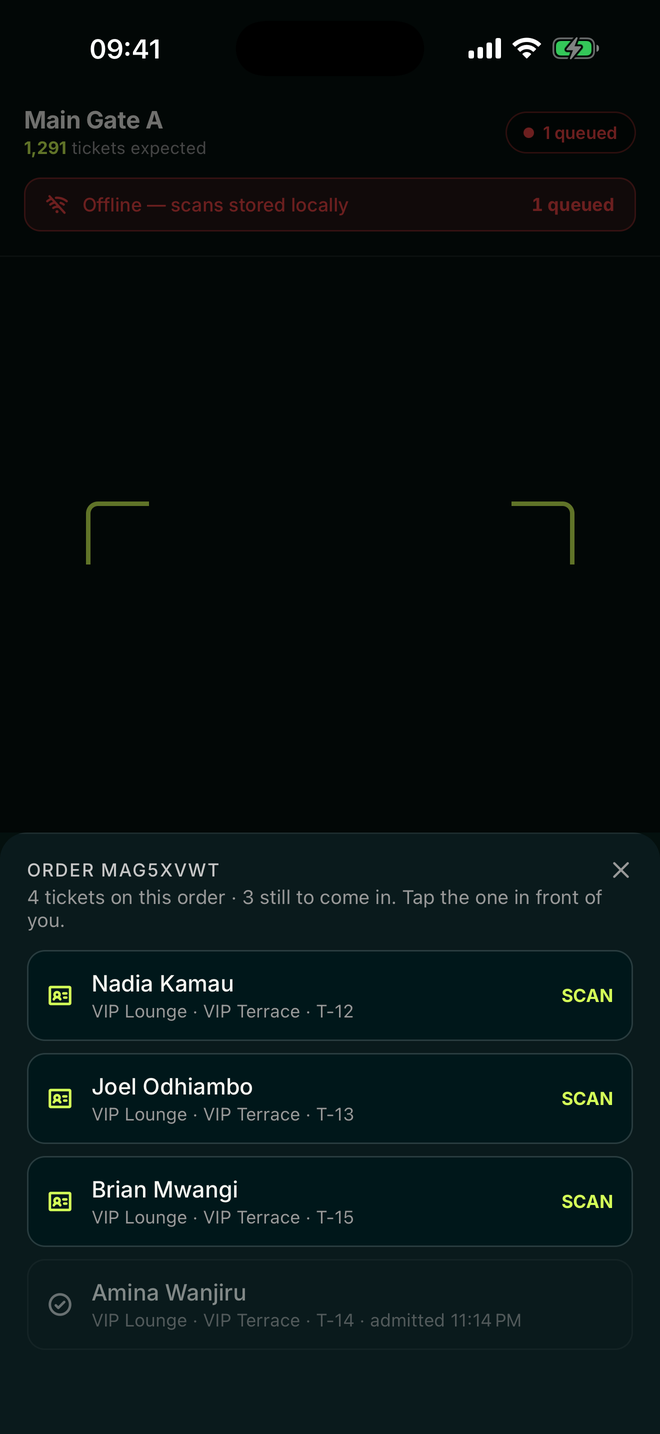
Always tap the correct person. The scanner will not choose one for you, because the rest of the group may still arrive later.
Supervisors
Supervisor mode
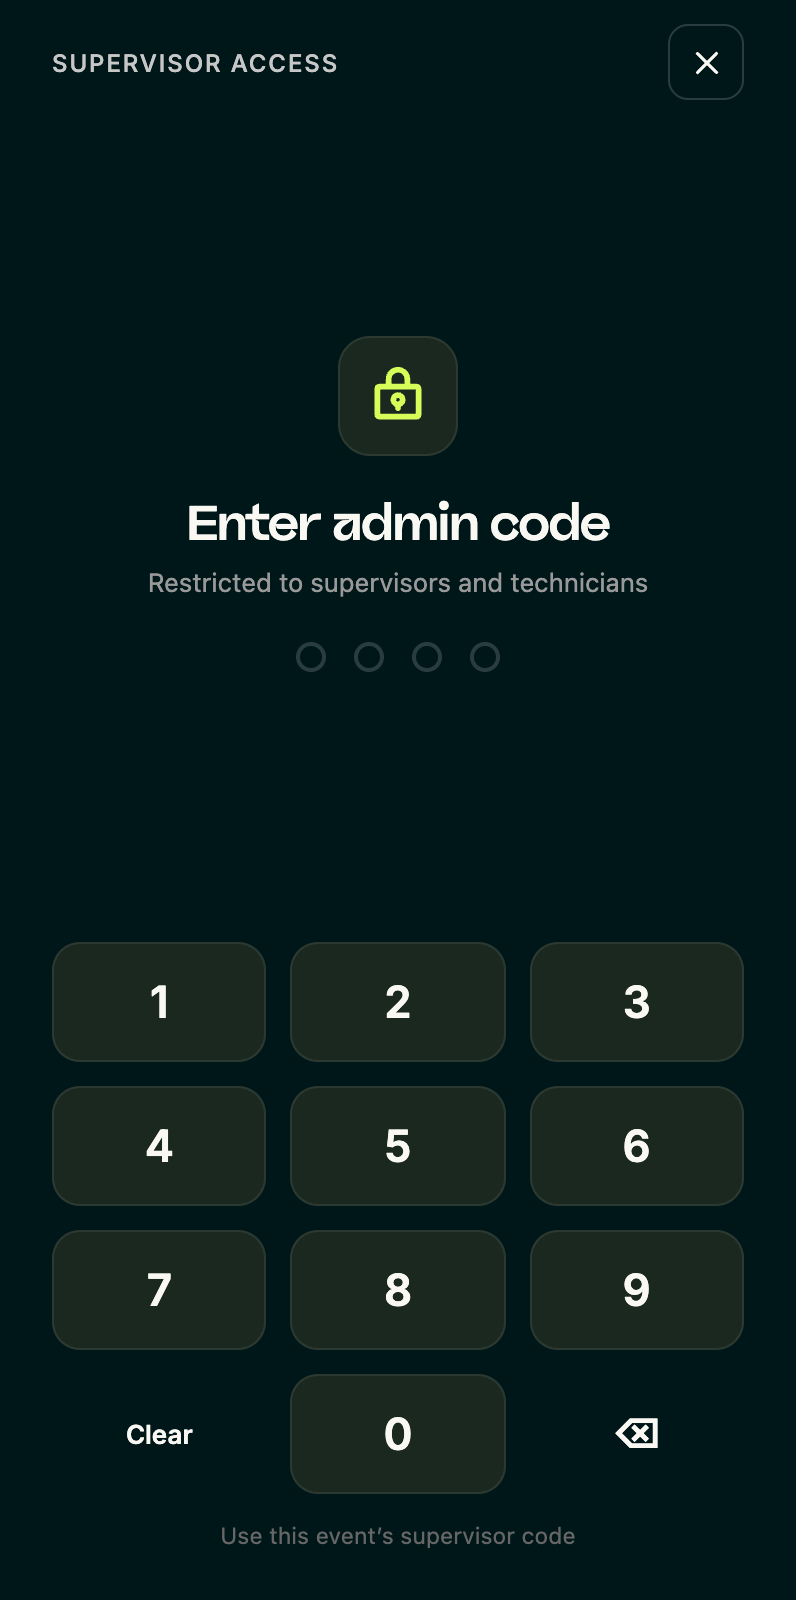
Everything a steward does not need is behind a code: changing what the scanner does, switching it to another event, reading its logs, and unpairing it.
Getting in
Tap the top bar of the scan screen — the strip with the gate name and the ticket count — five times. Nothing on screen advertises this. It is a gesture rather than a button so that nobody finds it by accident, and it is the whole bar rather than one word so you do not have to aim while a queue is waiting.
What is inside
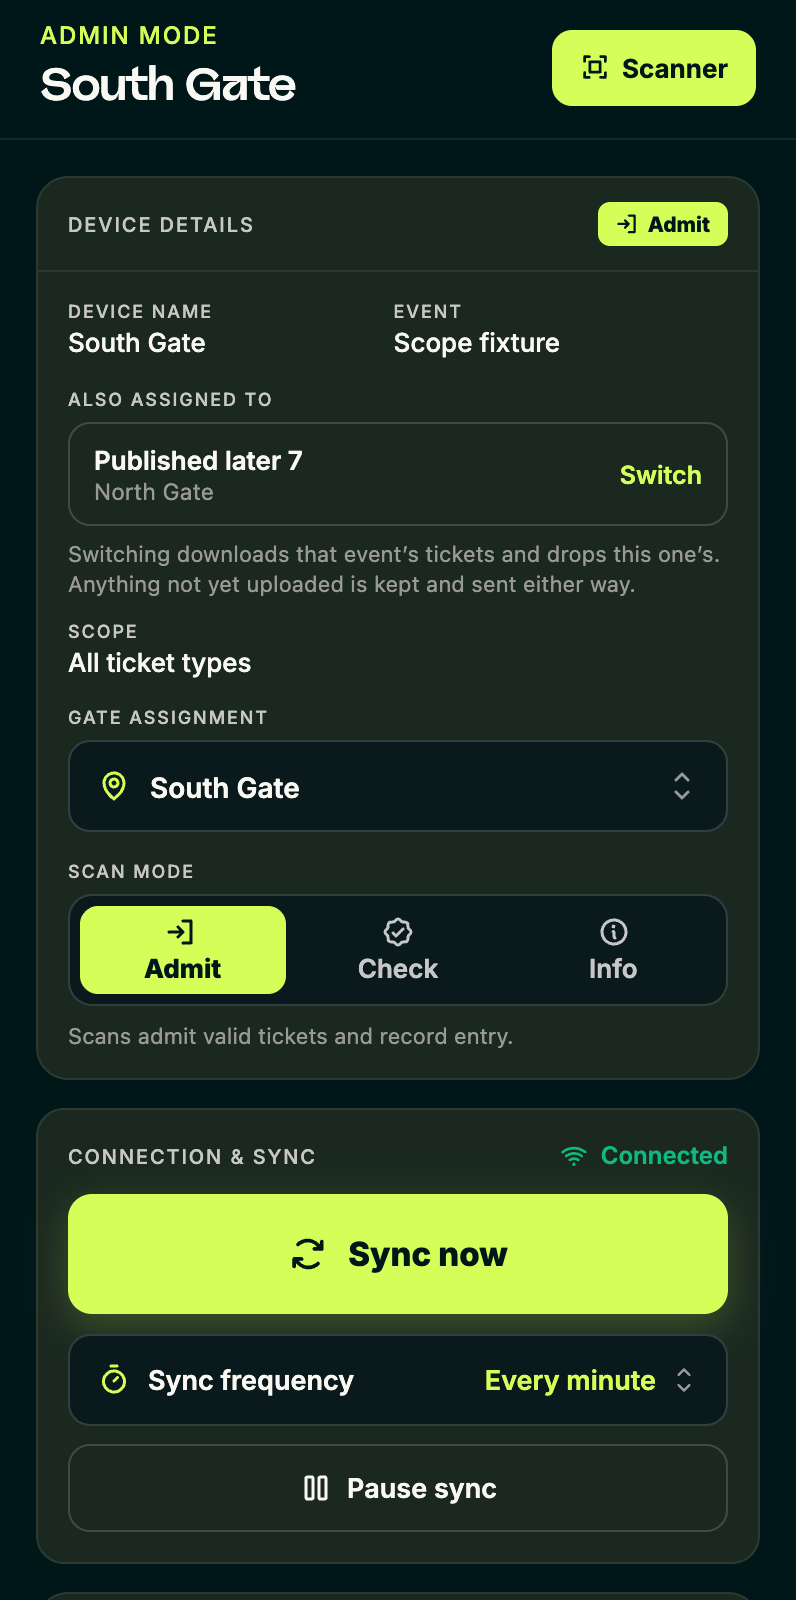
Device details — the name the control room lists this handset under, and the event it is currently on.
Also assigned to — only appears when the control room has this device on more than one event. Tap Switch to move it. Switching downloads that event’s tickets and drops the current ones; anything scanned but not yet uploaded is kept and sent either way.
Scope and gate assignment — what slice of the event this device may admit. If it reads a number of ticket types or gates rather than “All”, that is why the ticket count may be lower than you expect.
Scan mode — Admit lets people in and uses up the ticket. Check reads a ticket and reports on it without using it. Info looks a ticket up and changes nothing. Leave it on Admit at a working door.
Sync now uploads what this scanner has recorded and downloads any changes. It happens on its own at the frequency shown; the button is for when you want it to happen immediately — before packing the device away, for instance.
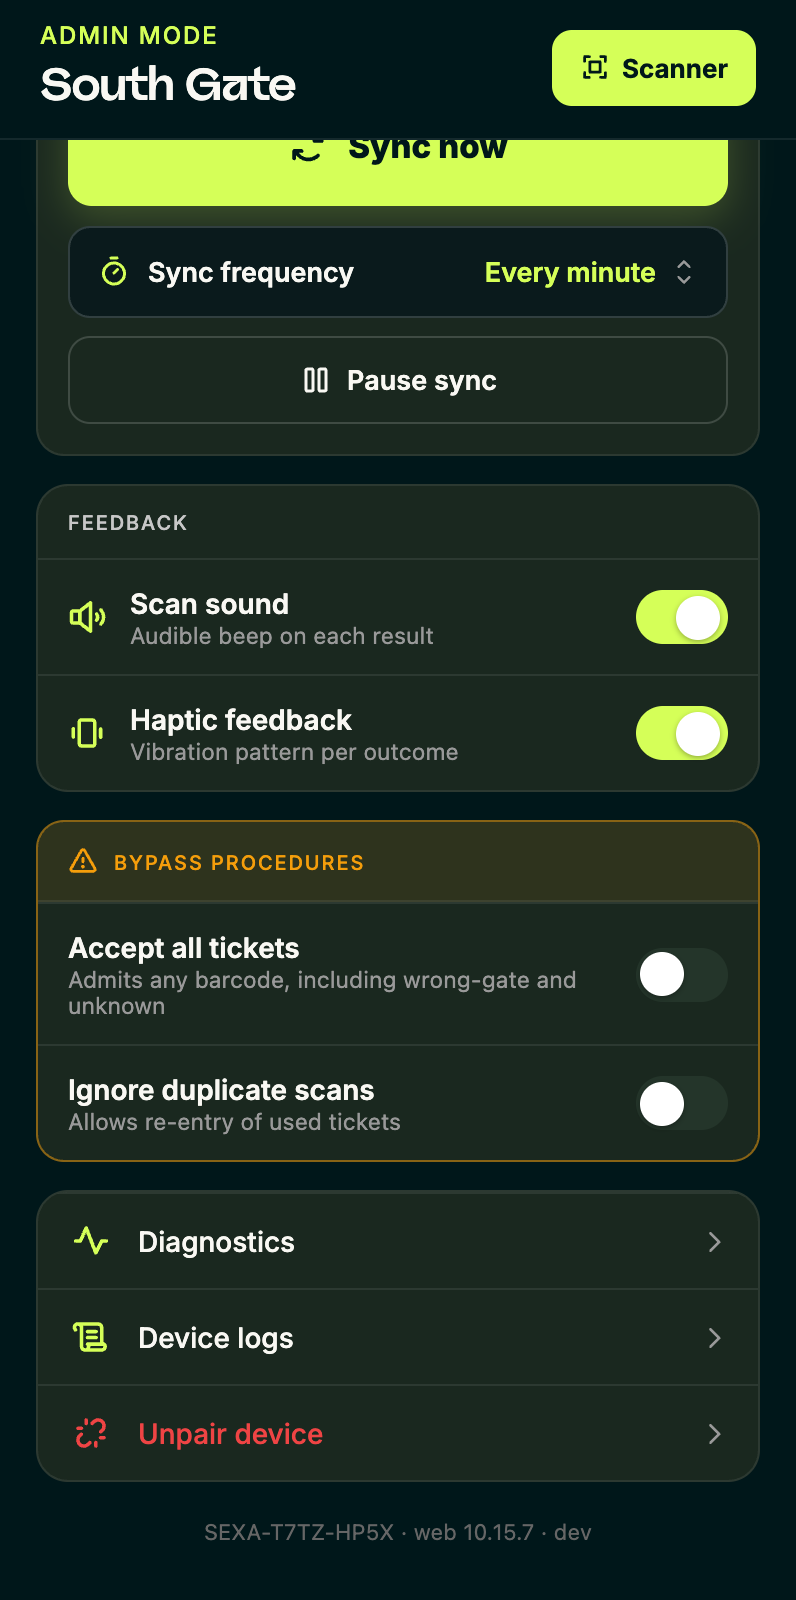
Scan sound and haptic feedback — the beep and the buzz on each result. An operator working by ear with a laser gun should leave the sound on.
Diagnostics checks the parts of the device the gate depends on. Device logs is every scan and every event this handset has recorded, newest first — that is where to look when somebody asks why a person was turned away.
Unpair device releases this handset from the event. It drops the token and the downloaded tickets, but the grant stays on the dashboard: the control room still has this device assigned, and the scanner will offer to resume it. Anything scanned but not uploaded is kept and sent once the device is paired again.